From local variables to your Team Library
Learn how to promote your local variables to a shared Team Library — so your multilingual content is available across all your Figma files.
Sébastien Verschaete
How to

Why move from local to library?
When you scan a file for the first time, UX ContentHub creates a local Text collection in that file. This is a great starting point, but local variables only live in that file — other files can't access them.
Moving your variables to a Team Library means:
Your translations are available workspace-wide
Other files can reuse variables instead of duplicating them
UX ContentHub always gives priority to library variables over local ones — even if an identical variable exists locally
This article walks you through the full workflow: from checking your local collection is ready, to importing and swapping in your library file.
Step 1 — Check the health of your local collection
Before exporting anything, make sure your local variables are in good shape.
Open UX ContentHub and go to the Local collections tab
Check the Health Score of your Text collection — aim for a score as close to 100 as possible before exporting
Fix any flagged issues: missing translations, inconsistent naming, variables where the name doesn't match the content
💡 Tip: You don't need a perfect score to proceed, but exporting incomplete or inconsistent variables to a shared library will affect all files that use them. It's worth taking the time to clean up first.
Step 2 — Export your ready variables
UX ContentHub automatically identifies which variables are ready for export to the library — variables with no missing translations, no review flags, and no quality issues are grouped in a Ready for library banner.
In the Local collections tab, click the New variables ready for library banner to expand the list of export candidates
Variables are grouped by prefix — select the prefixes (or individual variables) you want to promote
Click Export variables to prepare them for import into your Team Library source file
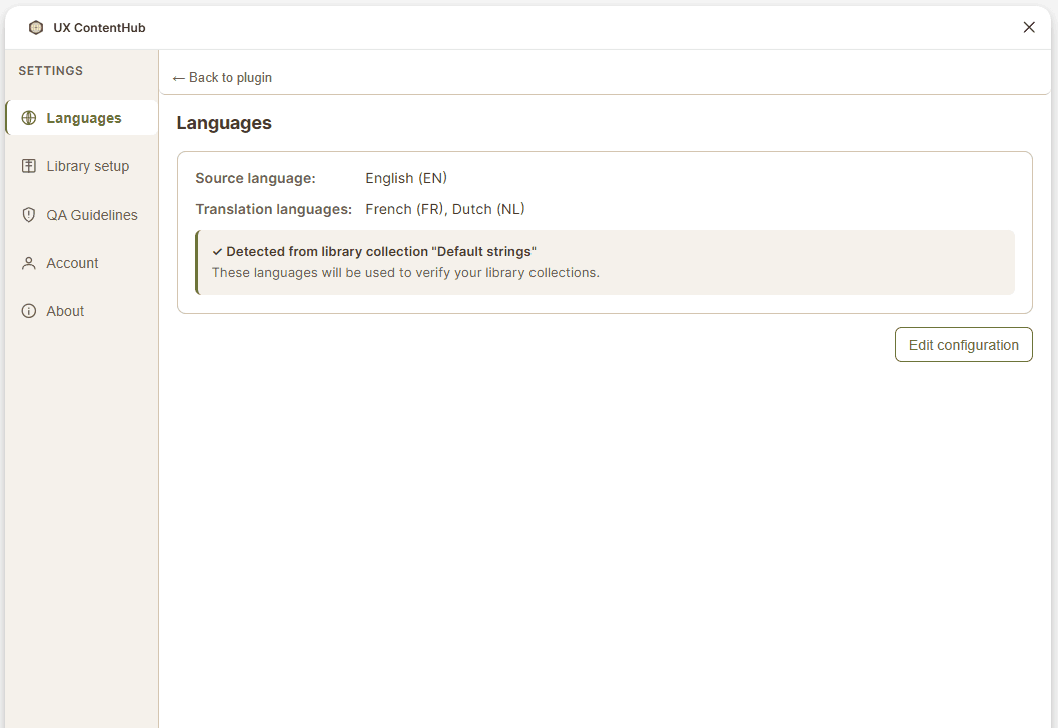
Step 3 — Open the plugin in your library source file
In Figma, open your Team Library source file — this is the file you set up in Settings
Open UX ContentHub in that file
Go to the Local collections tab
Step 4 — Import into the library
In the Local collections tab of your library source file, open the collection you want to import into
Click Actions → Import from Excel
Select the Excel file exported from your local collection in Step 2
Publish your library via Figma's Assets panel so the changes are available to all connected files
Step 5 — Swap local variables for library variables
Go back to your original working file
Open UX ContentHub → Library collections tab
Click Check again to detect the newly published library variables
Use the Swap workflow to replace your local variables with the matching library variables — all text layer bindings are updated automatically
Your file now uses shared library variables instead of local ones. Any future updates made in the library will propagate across all connected files.
Next steps
Your file now uses shared library variables. New text layers you scan in this file will automatically be matched against the library first — keeping your workspace consistent from the start. To maintain translation quality over time, make sure to regularly check the Health Score of your local collections under the Local collections tab.